Home
Home  AIRPENS markers
  Stencils
  Video guides
  Downloads
  FAQs
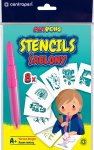
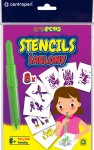
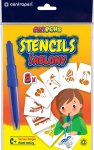
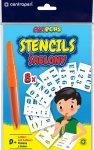
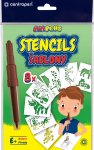
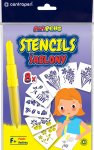
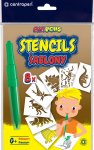
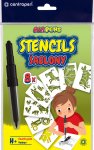
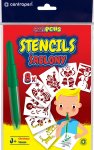
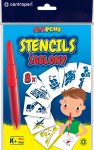
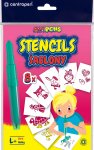
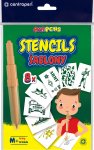
FAQs We offer paper stencils with various designs for 'blowing' pictures. These specially designed, high-quality paper stencils are used to create amazing pictures which you can use, for example, to decorate your own birthday cards, postcards, invitations, diplomas, gift or carrier bags, or to turn ordinary paper into something extraordinary. The only limit is your imagination...
If you are dexterous enough, you can even make your own stencils for your blow markers. You will need to use quality tools, however, so that the holes you cut out do not become frayed and that paper fibres do not stick to the picture when blowing.
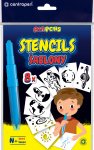
For easy use of blow markers and quality pictures, we therefore recommend that you use our stencils. Every packet contains 8 stencils in A5 format. Stencils can be used repeatedly. In total, we produce 11 stencils sets with the following designs:
https://www.youtube.com/watch?v=Qp38PLjbC38&t=7s
GUIDE FOR PREPARING stencils
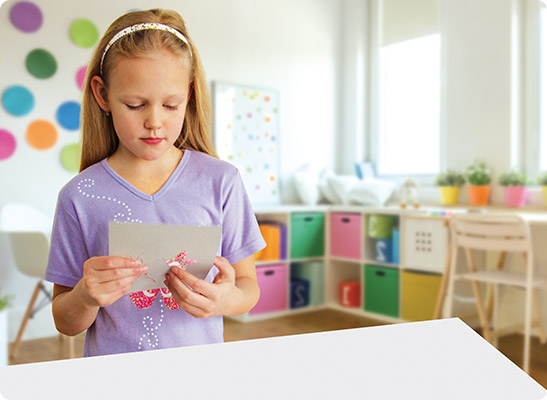
STEP 1: PREPARE A stencils
Show your children what to do. Simply punch out the shapes that form the outline of the picture that you want to 'draw', lay the stencil on a piece of blank paper (or, for certain applications, on an item of clothing, etc.) and pick out just the right colour.

STEP 2: PREPARE THE PENS
Are the kids ready to go? After removing the protectors, remove the inner cartridge, turn it around, and put the protectors back into place. Don’t forget to position your kids so that they aim downwards and at a slight angle to the stencil.

STEP 3: 'BLOW' A PICTURE
Ideally, you should blow down onto the paper from a height of eight to ten centimetres, towards the edges of the chosen stencil rather than into the middle of it. Make sure that the kids take a breather and that they don’t blow ink anywhere else than onto the paper or textile!
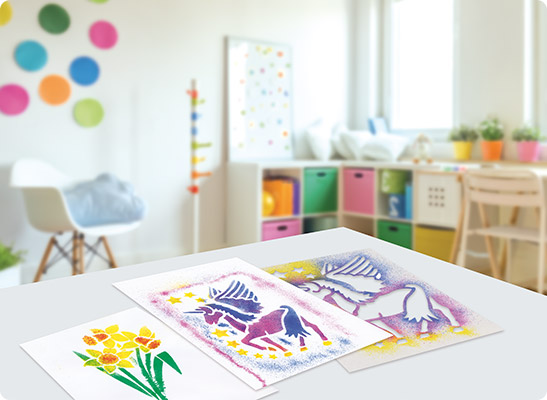
STEP 4: LET YOUR IMAGINATION RUN WILD
Abracadabra! Now wait and see just what your kids can conjure up on ordinary paper with blow markers and stencils. Don’t you want to try it too?
AIRPENS
We put your children’s safety first. Our blow markers are 100% harmless to health.
AIRPENS comply with European toy safety directives, as well as with all Czech legislative standards. Let your children draw creatively and safely.